
Professional leak detection uses thermal imaging and acoustic sensors to find hidden leaks DIY methods miss. Learn which approach saves you money long-term.
Share:
Summary:
Your water bill jumped $80 last month. There’s a faint musty smell in the hallway that wasn’t there before. Or maybe you just heard your neighbor’s horror story about the leak that cost them $12,000 in repairs because they didn’t catch it in time.
Water leaks don’t announce themselves with flashing lights. They hide behind walls, under slabs, and inside pipes where you can’t see them doing damage. The question isn’t whether you should look for them—it’s how. Some leaks you can find with a flashlight and ten minutes. Others require equipment that costs more than your car.
This breakdown walks you through what professional leak detection actually involves, what you can realistically handle yourself, and how to know which approach makes sense for what you’re dealing with. Because the wrong choice doesn’t just waste money—it lets the problem get worse while you think you’ve got it handled.
We don’t just show up with better flashlights. We bring equipment designed specifically to find water where it shouldn’t be, using technology that reads what’s happening inside your walls without tearing them open.
Thermal imaging cameras detect temperature differences caused by moisture. Water changes the heat signature of building materials, and these cameras make those changes visible even through drywall or concrete. What looks like a normal wall to your eye shows up as a cold spot on the thermal display—that’s your leak.
Acoustic sensors take a different approach. Water moving through a crack or hole creates sound frequencies you can’t hear without amplification. Professional-grade acoustic equipment isolates those specific frequencies and pinpoints their source, even when the leak is underground or behind multiple layers of construction. The technology works because leaks produce distinct acoustic signatures that trained technicians recognize.
Video pipe inspection gives us eyes inside your plumbing system. A waterproof camera on a flexible line feeds through your pipes, transmitting real-time footage to a monitor above ground. We watch for cracks, corrosion, blockages, and joint failures while the camera maps the exact location of any problems it finds.
This matters more than it might seem. When we know precisely where a leak is—down to the foot—repairs become surgical instead of exploratory. We’re not tearing out twenty feet of pipe hoping to find the problem. We’re accessing one specific section that the camera already identified.
Moisture meters measure water content in materials like drywall, wood, and concrete. These devices distinguish between normal humidity levels and actual water intrusion, helping us confirm whether that suspicious wall is just humid or actually wet from a hidden leak. The readings guide where to look deeper and where you’re wasting time.
Pressure testing isolates leaks in closed systems. We seal off sections of your plumbing, introduce air or water under controlled pressure, then monitor whether that pressure holds steady or drops. A pressure drop means water is escaping somewhere in that section. The test narrows down the search area before more invasive investigation begins.
These tools work together. A thermal scan might reveal a cold spot. Acoustic equipment confirms water movement in that area. Video inspection shows the actual damage inside the pipe. Each technology answers a different question, and we know which tool to use when.
The equipment itself costs thousands to tens of thousands of dollars. A quality thermal imaging camera runs $3,000 to $15,000. Professional acoustic leak detection systems start around $5,000. That’s why most homeowners don’t own this gear—and why the pros who do invest in it charge for the expertise to use it correctly.
We find leaks that DIY methods miss entirely. Slab leaks under your foundation. Leaks inside walls where moisture hasn’t yet caused visible damage. Pinhole leaks in supply lines that waste hundreds of gallons monthly but don’t create obvious puddles.
Monmouth County’s iron-rich water creates specific challenges that we recognize immediately. Mineral deposits build up inside pipes over years, roughening the interior surface and creating attachment points for debris. These deposits can hide small leaks or make them harder to detect with basic methods. We know what to look for and where these problems typically develop in local homes.
Our detection process starts with an assessment. What symptoms are you seeing? High water bills? Damp spots? Low pressure? Those clues guide which detection methods make sense. We explain what we’re looking for and why before we start running equipment.
Once we locate a leak, we provide specific information about its severity, the repair options available, and realistic cost estimates for fixing it properly. You’re not just getting a “yeah, you’ve got a leak somewhere” answer. You’re getting actionable intelligence about exactly what’s wrong and what it takes to make it right.
The value isn’t just in finding the leak—it’s in finding it accurately enough that repairs don’t turn into guesswork. When we know the leak is three feet from the water heater behind the drywall, we make one small access point and fix the problem. When we’re guessing, we might open up half your wall looking for it.
Professional detection also catches problems before they become emergencies. A small leak detected early might cost $300 to fix. That same leak left alone for six months could cause $8,000 in water damage, mold remediation, and structural repairs. The detection fee starts looking pretty reasonable when you frame it that way.
As licensed professionals, we carry insurance that covers mistakes and accidents. If something goes wrong during detection or repair, our insurance handles it. That protection doesn’t exist with DIY approaches or unlicensed contractors. You’re taking on all the risk yourself.
DIY leak detection works for obvious, accessible problems. A dripping faucet. A toilet that runs constantly. A visible puddle under your sink. These don’t require professional equipment because the leak is right there in front of you.
Basic DIY methods include checking your water meter with all fixtures off to see if it’s still moving, adding food coloring to toilet tanks to check for bowl leaks, inspecting exposed pipes for corrosion or moisture, and looking for water stains on ceilings and walls. These approaches cost nothing and take minutes. For surface-level problems, they’re perfectly adequate.
The limitations show up when leaks hide. You can’t see inside walls without opening them. You can’t inspect underground pipes without excavation. You can’t measure moisture levels in concrete without specialized equipment. DIY methods hit a wall—sometimes literally—when the problem isn’t visible.
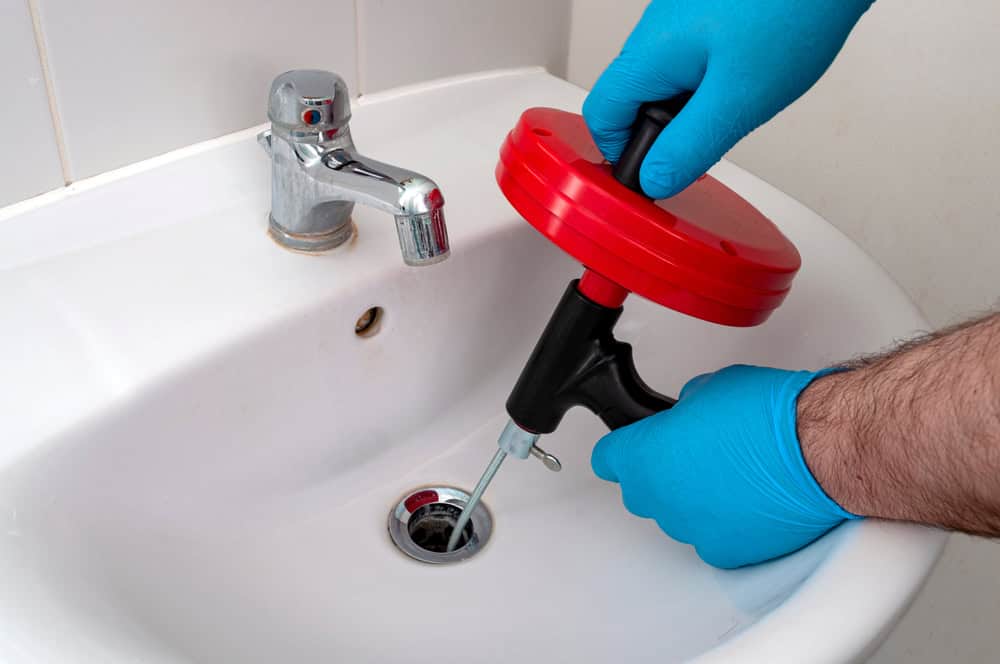
DIY makes sense when the leak is obvious and accessible. If you can see water coming from a specific fixture or connection, you don’t need thermal imaging to tell you where the problem is. You need a wrench and possibly a replacement part.
Regular monitoring catches problems early. Checking your water meter monthly takes two minutes and alerts you to leaks before they cause serious damage. Write down the reading when everything is off. Check it an hour later. If the numbers changed, water is going somewhere it shouldn’t.
Toilet leaks are prime DIY territory. Drop food coloring in the tank and wait fifteen minutes without flushing. If color appears in the bowl, the flapper is leaking. That’s a $10 part you can replace yourself in ten minutes. No professional needed.
Inspecting visible pipes during routine home maintenance catches corrosion, loose fittings, and small drips before they become big problems. Look under sinks, around water heaters, near washing machine connections, and anywhere else pipes are exposed. If you spot moisture, investigate immediately.
The key is knowing your limits. DIY works great for simple, visible issues where the cause is clear and the fix is straightforward. It stops working when you need to find hidden leaks, diagnose complex problems, or verify that repairs actually solved the issue.
Attempting DIY leak detection on hidden problems often delays proper repairs while the leak continues causing damage. You might spend weeks trying different approaches, watching YouTube videos, and buying tools you’ll never use again—all while water is destroying your drywall, flooring, or foundation. The money you saved by not calling a pro gets spent on repairing the additional damage your delay caused.
DIY leak detection carries risks that don’t show up until after you’ve committed to the approach. The biggest risk is false confidence—thinking you’ve found and fixed the problem when you’ve actually missed the real issue or only addressed part of it.
A homeowner might fix a visible drip under the sink and assume the problem is solved, not realizing there’s also a slow leak inside the wall from a corroded pipe. The drip stops, the water bill stays high, and moisture keeps accumulating where you can’t see it. Mold starts growing. Wood starts rotting. By the time the damage becomes obvious, repairs cost thousands more than they would have if detected early.
Misdiagnosis wastes money on wrong repairs. You might replace a toilet flapper when the actual problem is a cracked tank. Or patch one pipe leak while missing two others in the same line. Each wrong guess costs time and money while the real problem continues.
Safety concerns matter more than most people realize. Water and electricity don’t mix well. Investigating leaks near electrical panels, outlets, or appliances creates shock hazards if you don’t know what you’re doing. Gas lines add another layer of danger—mistaking a gas leak for a water leak could have deadly consequences.
DIY approaches also lack the verification that professional equipment provides. You might think you found the leak, but without moisture meters or thermal imaging to confirm the area is actually drying out after your repair, you’re guessing. We verify our work. DIYers hope for the best.
Time costs money too. The hours you spend researching, shopping for tools, attempting repairs, and potentially doing it all over again when the first attempt fails—that’s time you could have spent on literally anything else. For straightforward problems, DIY saves money. For complex issues, it often ends up costing more than hiring a professional would have from the start.
Insurance implications create another risk. If your DIY plumbing work causes damage—say you accidentally crack a pipe while investigating a leak, causing flooding—your homeowner’s insurance might not cover it. Damage caused by improper DIY work often falls outside standard policy coverage. Professional work comes with insurance protection. DIY work puts all the financial risk on you.
The choice between professional and DIY leak detection comes down to what you’re dealing with. Visible, accessible leaks with obvious causes? Handle them yourself. Hidden leaks, unexplained water bills, mysterious damp spots, or anything involving walls, slabs, or underground pipes? Call a professional.
Professional water leak detection costs $175 to $350 for most residential jobs, with complex cases running higher. That investment buys accuracy, proper equipment, and expertise that prevent the kind of mistakes that turn $300 problems into $3,000 disasters. You’re paying for someone to find the leak correctly the first time and provide specific information about how to fix it permanently.
For Monmouth County homeowners dealing with the area’s unique challenges—iron-rich water, aging infrastructure, clay soil conditions—local professional expertise makes even more sense. These aren’t problems you want someone learning about while working on your home. If you’re facing leak detection needs, we at AME Plumbing Heating and Cooling bring the technology, licensing, and local knowledge to find problems accurately and explain your options clearly.
Article details:
Share:
Continue learning: