
Your water heater works hard year-round. Regular maintenance prevents breakdowns, extends equipment life, and saves money on energy bills while ensuring reliable hot water.
Share:
Summary:
You turn on the shower expecting hot water, but it’s barely lukewarm. Or worse, ice cold. That’s usually when most people start thinking about water heater maintenance—when something’s already wrong.
Here’s the thing: your water heater is one of the hardest-working appliances in your home. It heats water day after day, dealing with mineral buildup, temperature swings, and constant demand. Without regular attention, small issues turn into expensive problems.
This guide covers the maintenance tasks that actually make a difference—the ones that prevent breakdowns, extend your equipment’s life, and keep your energy bills from creeping up. You’ll learn what needs to happen annually, what warning signs to watch for, and when it’s time to call in a professional instead of trying to fix it yourself.
Most water heaters last somewhere between 8 and 12 years. But that number isn’t set in stone. How long yours lasts depends almost entirely on how well you maintain it.
Regular maintenance does three things. It removes sediment that makes your system work harder. It catches small problems before they turn into emergencies. And it keeps everything running at peak efficiency, which means lower energy bills.
The core maintenance schedule breaks down into annual tasks that take some time and attention, plus quick monthly checks that take just a few minutes. Both matter. The annual work addresses buildup and wear. The monthly checks catch problems early, before they cause damage or leave you without hot water.
Sediment is your water heater’s biggest enemy. Every time water heats up in your tank, minerals like calcium and magnesium settle to the bottom. Sand, dirt, and other debris join them. Over time, this builds up into a layer that sits between your heating source and the water.
That layer acts like insulation—but not the good kind. It forces your heating element or burner to work harder to heat the same amount of water. Your energy bills go up. Your water doesn’t get as hot. And eventually, that sediment can cause serious damage to the tank itself.
Flushing your tank once a year removes this buildup. The process is straightforward. You turn off the power or gas supply and let the tank cool for a couple hours. Then you connect a garden hose to the drain valve at the bottom of the tank and let the water run out into a drain or your yard. The first water that comes out will look cloudy or have visible particles. You keep draining and refilling with fresh water until what comes out runs clear.
In Monmouth County, NJ, where water hardness varies by area, this annual flush matters even more. Hard water accelerates mineral buildup. If you’ve noticed your water heater making popping or rumbling sounds, that’s sediment being heated and releasing trapped water bubbles. It’s a clear sign flushing is overdue.
Some homeowners handle this themselves. Others prefer having a professional do it as part of a comprehensive maintenance visit. Either way, skipping this task will cost you—in efficiency, in equipment life, and eventually in repair bills.
Your temperature and pressure relief valve exists for one reason: safety. If pressure or temperature inside your tank gets too high, this valve opens and releases water before something catastrophic happens. It’s a critical safety device. But like any mechanical part, it can fail—especially if it’s never tested.
Testing takes less than five minutes. You shut off power to the heater first. Then you place a bucket under the discharge pipe connected to the valve. Lift the valve’s lever briefly. You should see a burst of water flow into the bucket, and when you release the lever, the valve should snap shut and stop the flow completely. If water doesn’t come out, or if it keeps dripping after you release the lever, the valve needs replacement.
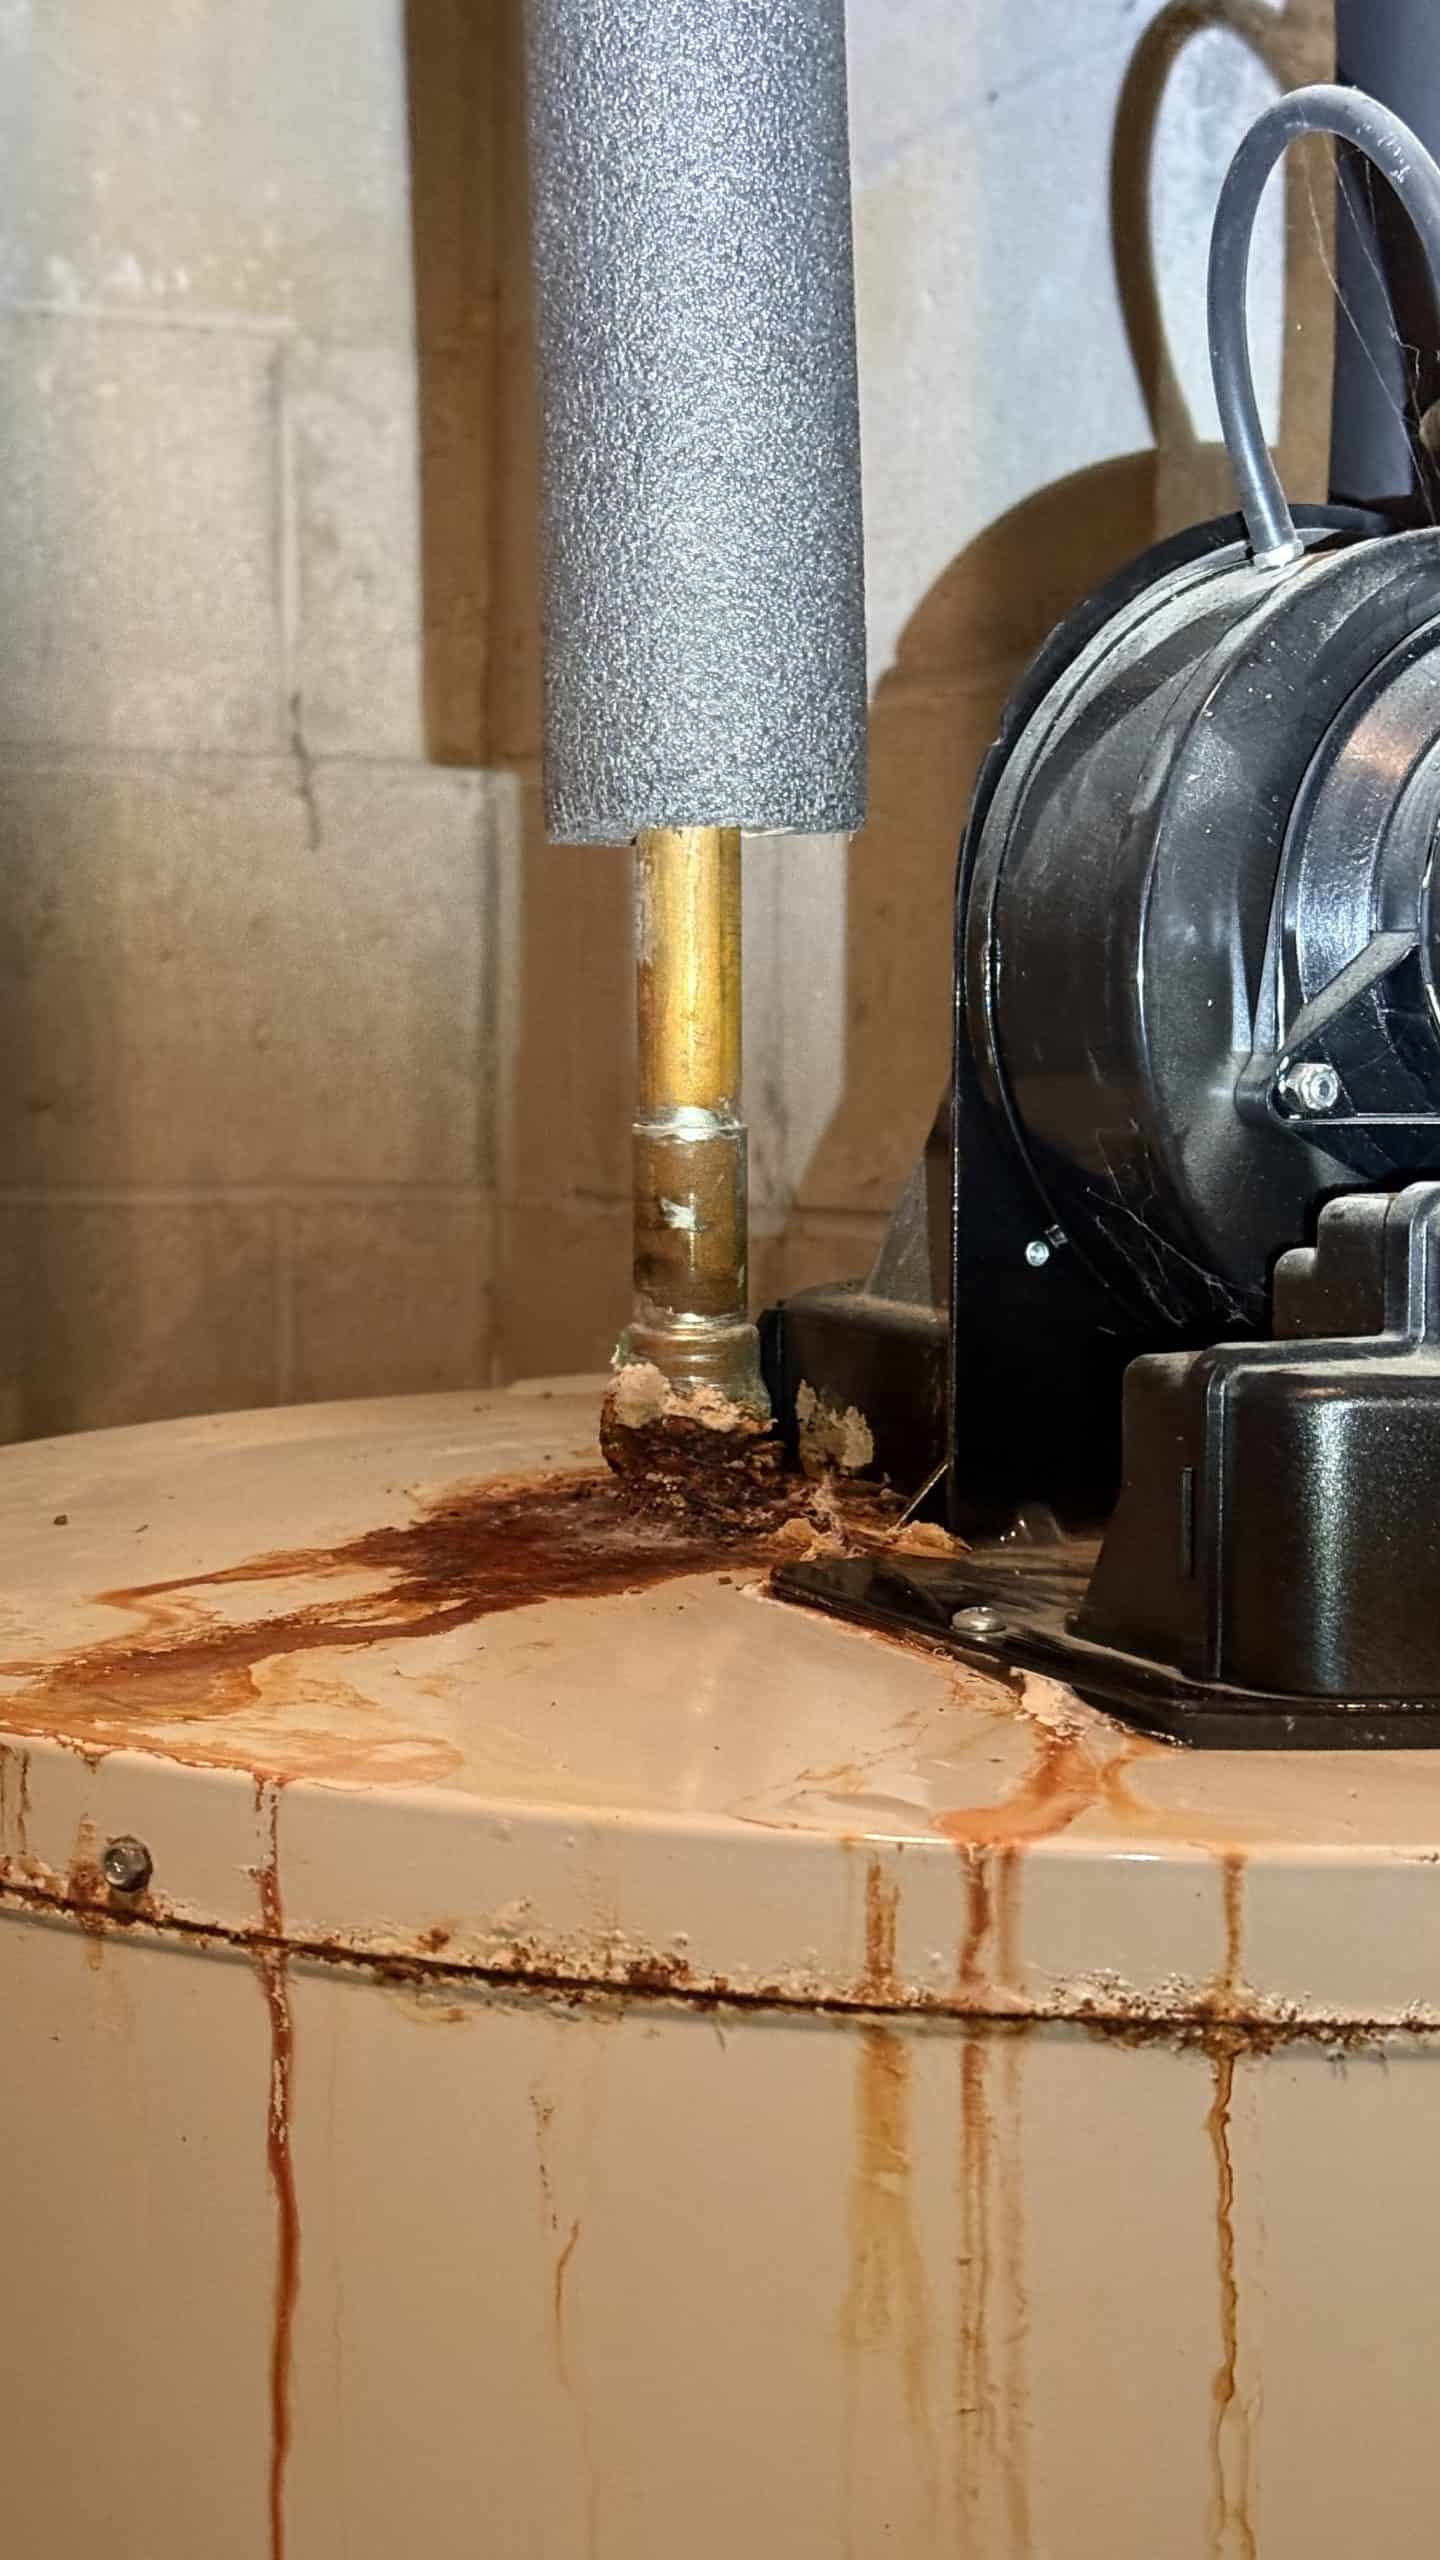
The anode rod is less visible but just as important. This long metal rod sits inside your tank, deliberately corroding so your tank doesn’t. It’s made of aluminum, magnesium, or zinc—metals that attract the corrosive elements in your water. As long as the anode rod is doing its job, your tank stays protected. But once that rod is mostly corroded away, those corrosive elements start attacking your tank instead.
Most manufacturers recommend inspecting the anode rod every year and replacing it every three to four years. The rod screws into the top of your tank. When you remove it, you’re looking for heavy corrosion, significant thinning, or calcium buildup coating the rod. If more than six inches of the core wire is exposed, or if the rod is coated in calcium, it’s time for a new one.
This is where many homeowners call in a professional. Removing an anode rod that’s been in place for years can require significant force. The threads can be stubborn. And if you damage the tank opening in the process, you’ve created a much bigger problem. We have the right tools and experience to handle this without risk.
Replacing your anode rod before it’s completely spent can add years to your water heater’s life. It’s a relatively inexpensive part that protects a much more expensive investment. Ignoring it means you’re on borrowed time before corrosion starts eating through your tank.
When your gas water heater stops producing hot water, the pilot light is usually the first suspect. That small flame serves as the ignition source for your main burner. No pilot light means no hot water, no matter how long you wait.
Sometimes the fix is simple—the pilot just needs to be relit following the instructions on your water heater. But if the pilot light keeps going out repeatedly, you’re dealing with a bigger issue. It could be a faulty thermocouple, which is the safety device that tells the gas valve whether the pilot is lit. It could be a problem with gas pressure. Or it might be a ventilation issue that’s not allowing proper combustion.
Gas water heaters also depend on proper venting. If your vent pipe is blocked or damaged, combustion gases can’t escape properly. This creates a dangerous situation and prevents your burner from operating efficiently. You might notice the pilot light going out frequently, or the burner not staying lit even when the pilot is fine.
The thermocouple is a small copper tube that sits in the pilot flame. When it’s heated by that flame, it generates a tiny electrical current that tells the gas valve it’s safe to allow gas to flow to the main burner. If the thermocouple fails, the gas valve shuts off as a safety measure. Your pilot light goes out, and it won’t stay lit when you try to relight it.
Thermocouples can fail for several reasons. They get dirty over time, which interferes with their ability to sense heat properly. They can become misaligned, sitting too far from the pilot flame to heat up adequately. Or they simply wear out after years of constant heating and cooling cycles.
Cleaning a thermocouple is possible—you can carefully remove it and gently sand off any buildup. But if cleaning doesn’t solve the problem, replacement is straightforward and inexpensive. The part itself costs very little. The challenge is making sure it’s positioned correctly after installation. If it’s not close enough to the pilot flame, you’ll have the same problem all over again.
The gas control valve is more complex. It regulates gas flow to both the pilot light and the main burner. It uses the signal from the thermocouple to know when it’s safe to open. And it has a built-in thermostat that monitors water temperature and calls for more heat when needed.
When a gas control valve fails, symptoms vary. Your pilot might stay lit but the main burner won’t ignite. Or you might get inconsistent hot water—some hot water, but not enough, because the valve isn’t calling for heat often enough. Sometimes you’ll smell gas, which means the valve isn’t closing properly. That’s an emergency requiring immediate professional attention.
Gas control valves are expensive parts and replacing them requires working with gas lines. This is not a DIY job. If testing points to a faulty gas valve, calling a licensed plumber who’s experienced with gas systems is the right move. We ensure proper installation, test for leaks, and make sure everything operates safely.
Lukewarm water is frustrating, and it usually points to one of several specific issues. The most common culprit is sediment buildup we talked about earlier. When minerals coat the bottom of your tank or cling to your heating element, heat can’t transfer to the water efficiently. You end up with water that’s warm, but never quite hot enough.
A broken or misadjusted thermostat is another frequent cause. Your thermostat controls when your heating element or burner kicks on. If it’s set too low, your water won’t reach the temperature you want. The recommended setting is 120 degrees Fahrenheit for safety and efficiency, though some households prefer it slightly higher. If adjusting the thermostat doesn’t help, the thermostat itself might be faulty and need replacement.
Electric water heaters have two heating elements—one at the top of the tank and one at the bottom. If one element fails, you’ll still get some hot water, but not enough. The water will be lukewarm because only half your heating capacity is working. Testing heating elements requires turning off power and using a multimeter to check for continuity. If an element has failed, water heater replacement restores full heating capacity.
The dip tube is a less obvious but important component. This plastic tube directs incoming cold water to the bottom of your tank where it gets heated. If the dip tube cracks or breaks—common in older water heaters—cold water mixes with hot water at the top of the tank. You end up with lukewarm water at your faucets because the water never gets properly separated and heated.
For gas water heaters producing lukewarm water, the burner assembly might be dirty or the gas valve might not be functioning correctly. A clogged burner can’t create enough heat to properly warm the water. And if the gas valve isn’t opening fully or isn’t calling for heat often enough, your water temperature suffers.
In Monmouth County, NJ, where winters are cold and incoming water temperature drops significantly, you might notice temperature issues more in colder months. Your water heater has to work harder to heat water that’s starting at a lower temperature. If your system is borderline—maybe sediment is starting to build up or an element is weakening—winter is when you’ll really notice the problem.
Diagnosing lukewarm water often requires systematic testing. Start with the simple stuff—check your thermostat setting, look for tripped breakers, inspect for visible leaks. If those don’t reveal the problem, it’s time to test components or call us in so we can diagnose the issue quickly and accurately.
Annual professional maintenance makes sense for most homeowners. Our trained technicians bring expertise and tools that go beyond basic DIY tasks. We can thoroughly inspect your entire system, test components you might not feel comfortable handling, and catch issues that aren’t obvious to an untrained eye.
Professional maintenance typically includes everything we’ve discussed—flushing the tank, testing the pressure relief valve, inspecting or replacing the anode rod, checking gas connections and venting, testing thermostats and heating elements, and looking for any signs of leaks or corrosion. It’s comprehensive care that addresses both immediate problems and potential future issues.
The cost of annual maintenance is modest compared to emergency repair calls or premature replacement. You’re investing in prevention, which almost always costs less than fixing things after they break. You’re also preserving your manufacturer’s warranty, which often requires proof of regular maintenance.
For homeowners in Monmouth County, NJ dealing with hard water, temperature extremes, and the normal wear that comes with year-round hot water use, professional maintenance from AME Plumbing Heating and Cooling provides peace of mind. You get experienced technicians who understand local water conditions, 24/7 emergency backup if something does go wrong, and transparent pricing without surprises. Regular maintenance keeps your system running efficiently, extends its lifespan, and ensures you’re not left without hot water when you need it most.
Article details:
Share:
Continue learning: